Precision Subfloor Removal: Protecting Load Bearing Walls and Keeping Framing Crews on Schedule
When embarking on a major residential renovation in mature Greater Toronto Area (GTA) neighborhoods, such as the Parkwoods community in North York or established pockets of Etobicoke and Mississauga, homeowners and general contractors often discover that beauty is only skin deep. Beneath centuries old hardwood, worn carpeting, or outdated vinyl lies the true foundation of your home's walking surface: the subfloor.
Whether your property features modern plywood sheeting or vintage diagonal plank subflooring, time, moisture, and structural shifts eventually take their toll. Squeaky boards, uneven transitions, rot, and historical deflection frequently demand a complete subfloor overhaul. However, tearing out a subfloor is far more complex than simply swinging a sledgehammer. It is a surgical procedure that sits at the critical intersection of structural engineering and trade scheduling.
At Doctor Demo Inc., selective subfloor removal is one of our core specialties. Executing this work safely requires strict technical planning, accurate tool handling around load bearing partitions, and meticulous job site management to keep your framing crew moving forward without costly structural delays.
The Hidden Risks of Subfloor Removal Around Load-Bearing Partition Walls
In older GTA homes, subfloors, especially 45 degree diagonal plank systems, were often installed continuously across floor joists before interior partition walls and load bearing structures were erected on top. Over time, as walls settle and load paths settle into place, these subfloor boards become structurally bound beneath sole plates and load bearing studs.
Attempting an aggressive or uncalculated tear out without professional expertise carries severe structural risks:
Undermining Load-Bearing Point Loads: Slamming pry bars directly beneath partition walls that transfer weight from upper floors can shift or loosen structural studs, leading to drywall cracking upstairs or, worse, structural sag.
Accidental Joist Scavenging and Blade Notch Defects: Using circular saws set to improper depths when cutting through subfloor boards can slice into the tops of underlying floor joists. A saw kerf cut into the tension or compression zone of an engineered joist or dimensional lumber reduces its structural load capability significantly.
Vibration Damage to Mechanicals: Violent prying can disturb legacy plumbing lines, electrical runs, or gas pipes tucked tightly against the joist bays directly beneath the planking.
Precision selective demolition requires setting blade depths down to the exact millimeter thickness of the subfloor layer. Cuts made parallel to load bearing walls must be executed with extreme control, ensuring the plank is severed cleanly at the plate boundary without disturbing the structural footprint of the wall.
Step by Step Anatomy of a Professional Subfloor Overhaul
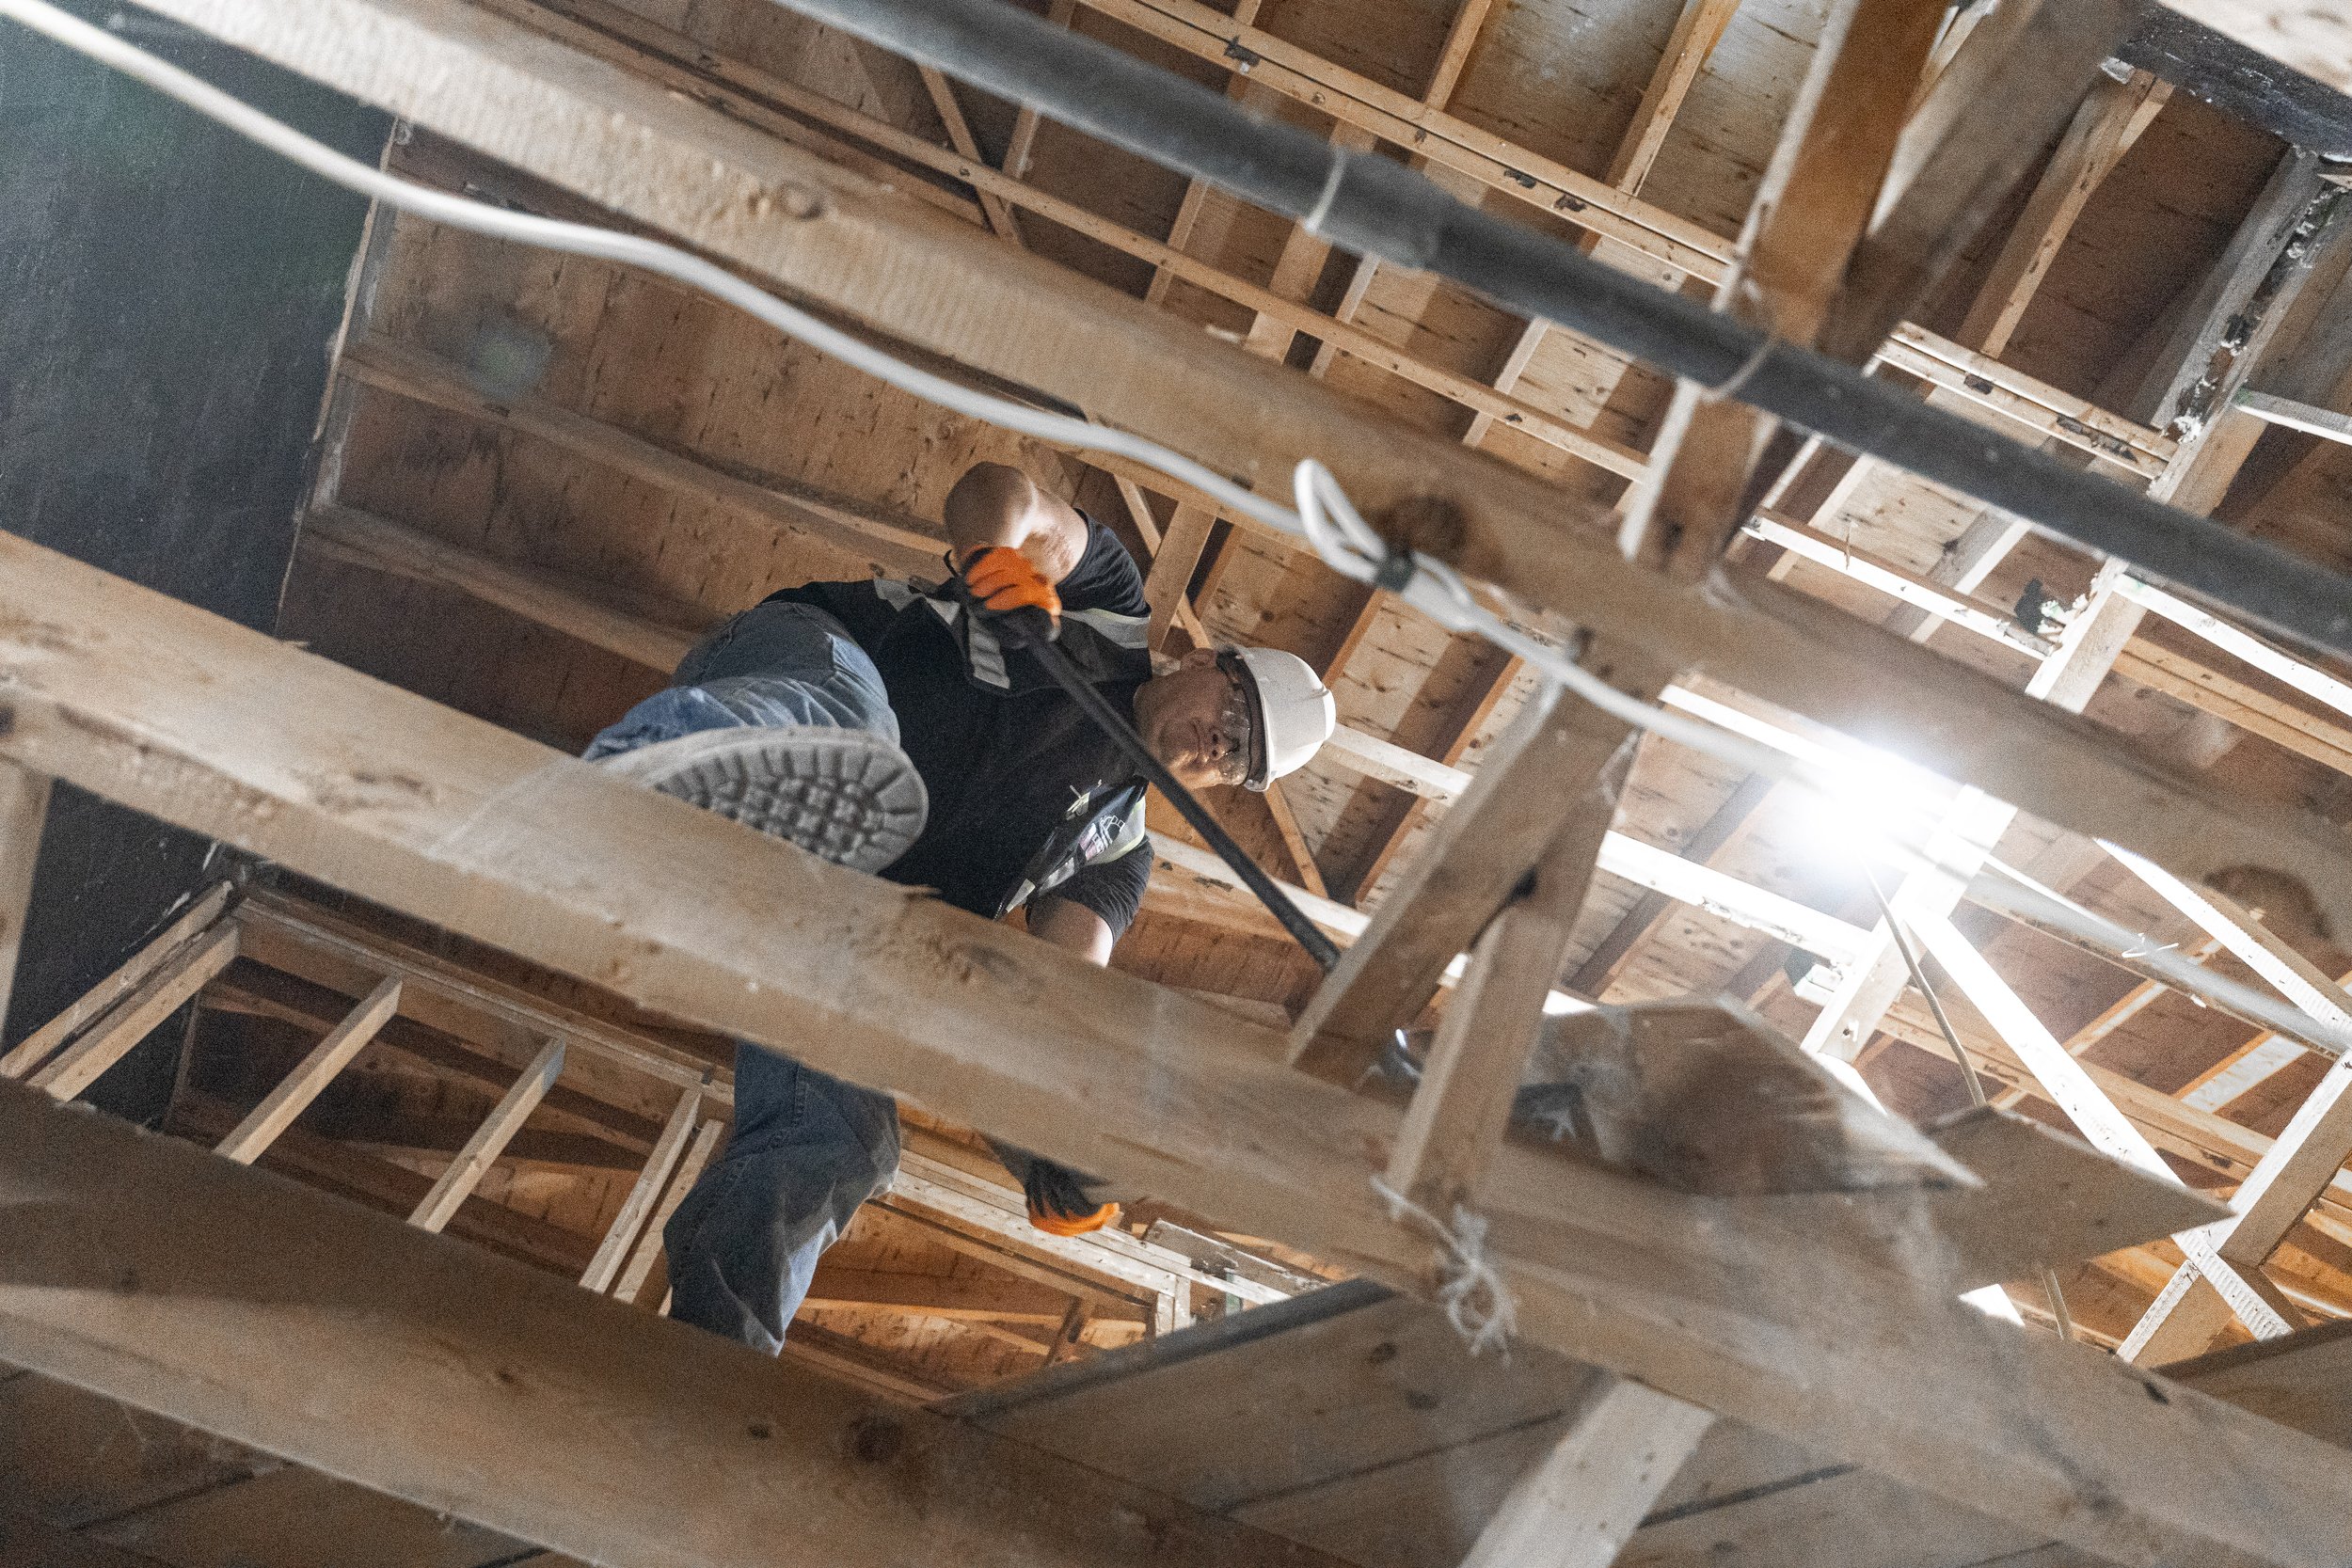
To understand what separates a chaotic tear out from a clean trade handoff, it helps to examine the multi-stage process Doctor Demo Inc. follows during a standard 900 square foot subfloor project:
The process begins with: Phase 1: Precision Cutting and Boundary Mapping. This is followed by Phase 2: Board Removal and Structural Inspection. Next comes Phase 3: Joist De Nailing and Surface Cleaning. That leads into Phase 4: Walkway Resheeting and Debris Logistics. Finally, the project concludes with Phase 5: Final Site Cleanup and Trade Handoff.
Boundary Mapping and Depth Calibration
Before any power tools start up, our crew analyzes the layout to locate every load bearing wall, non structural partition, and exposed mechanical drop. We calibrate plunges to match the exact depth of the subfloor (for instance, ¾ inch diagonal tongue and groove planking), ensuring zero contact with joist tops or hidden wire runs.
Selective Extraction Around Wall Plates
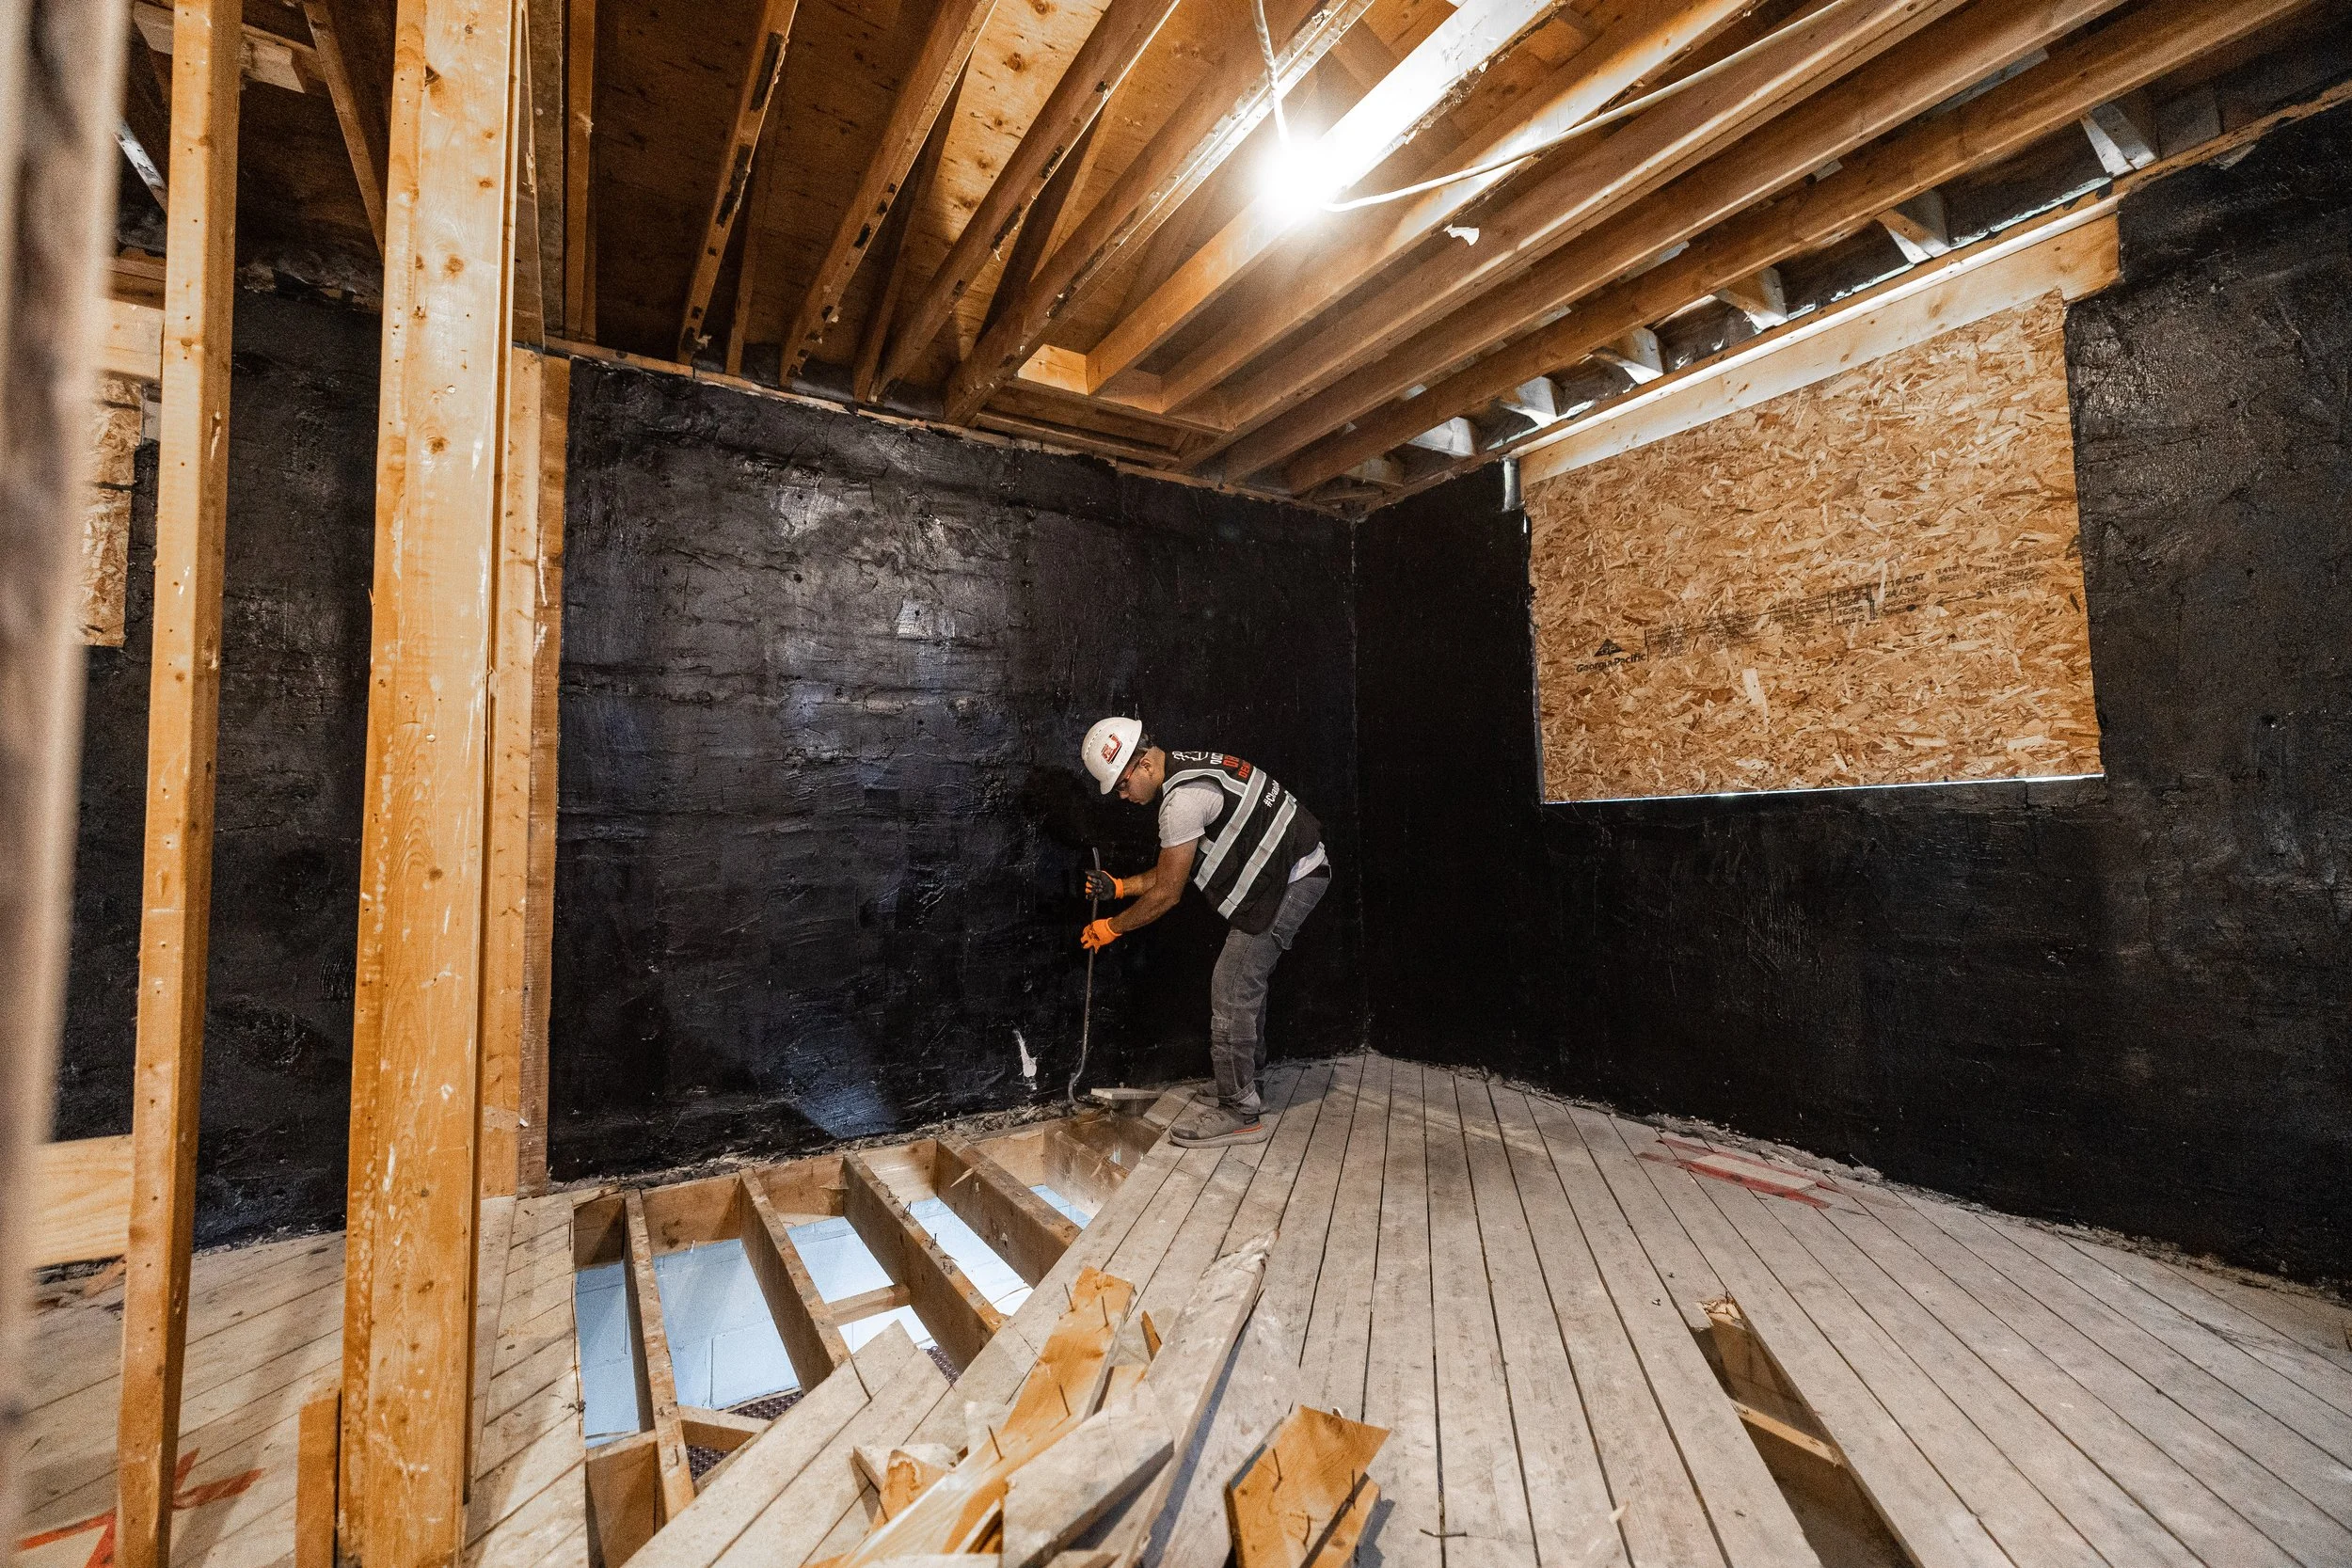
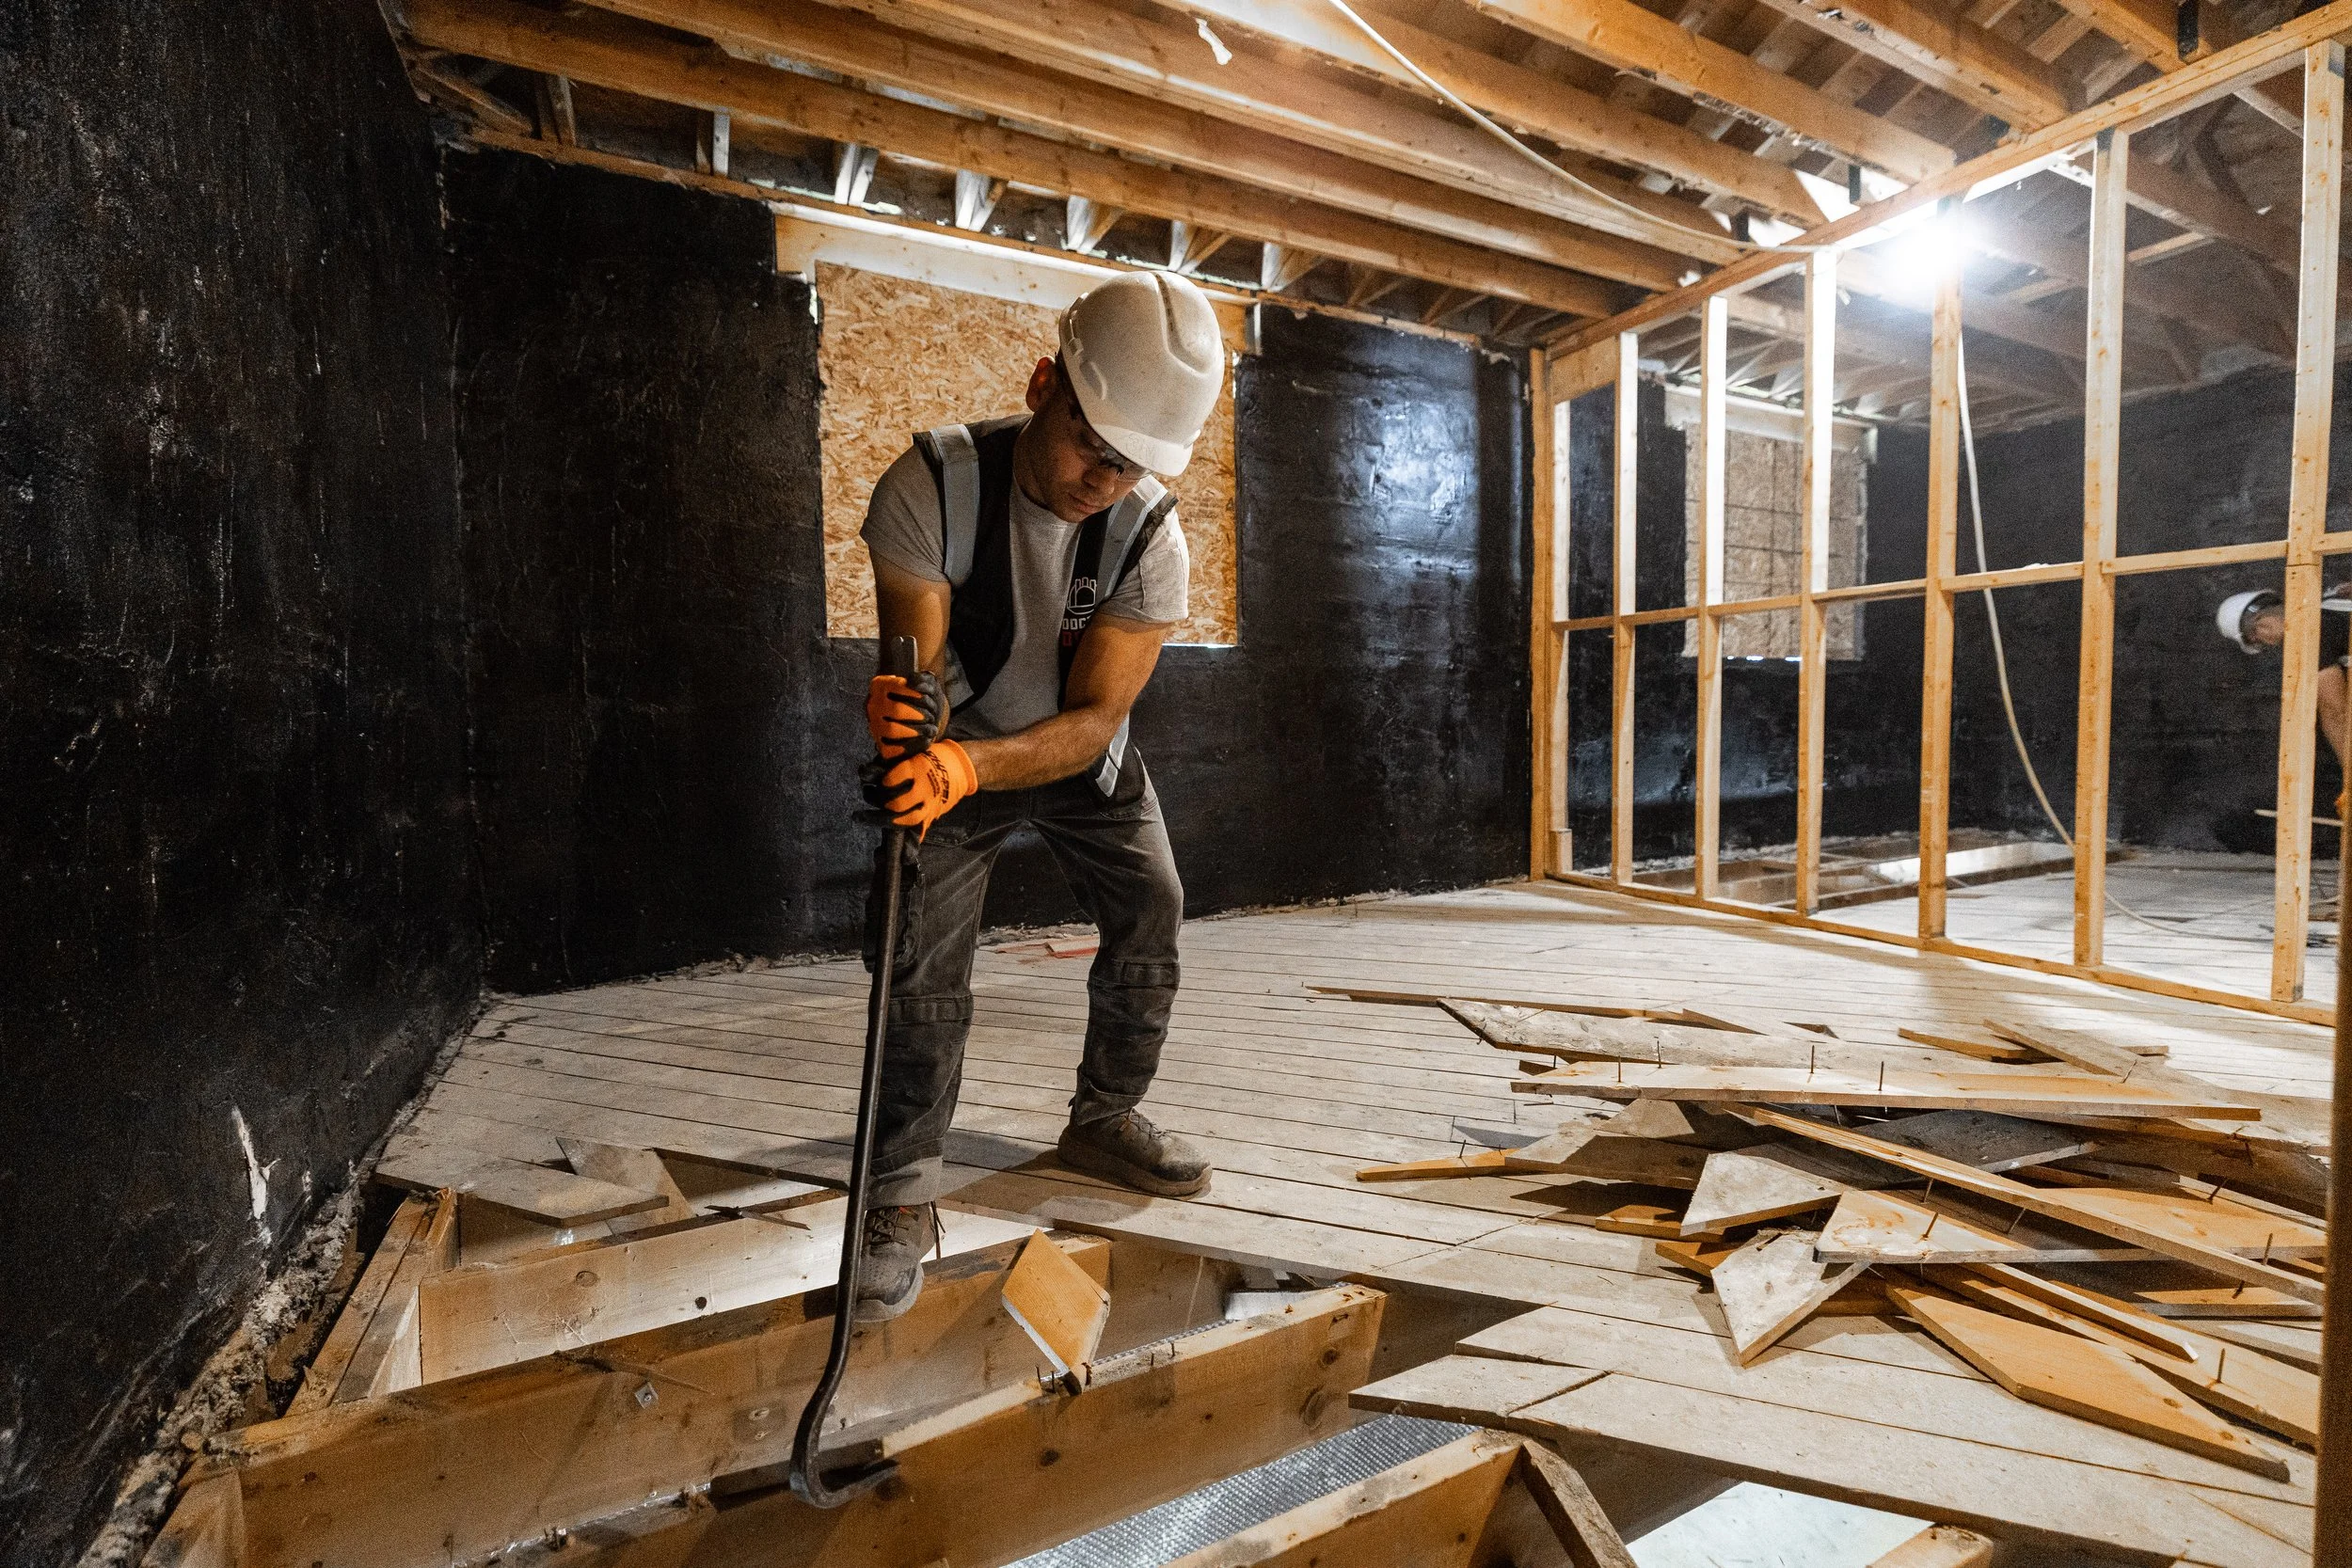
Working systematically, the subfloor is sectioned into manageable, heavy duty panels. Around load bearing walls, specialized flush cut and reciprocating equipment is used to trim the material cleanly along the wall boundary, leaving wall plates firmly anchored while completely freeing the surrounding bay.
Joist De Nailing and Cleaning
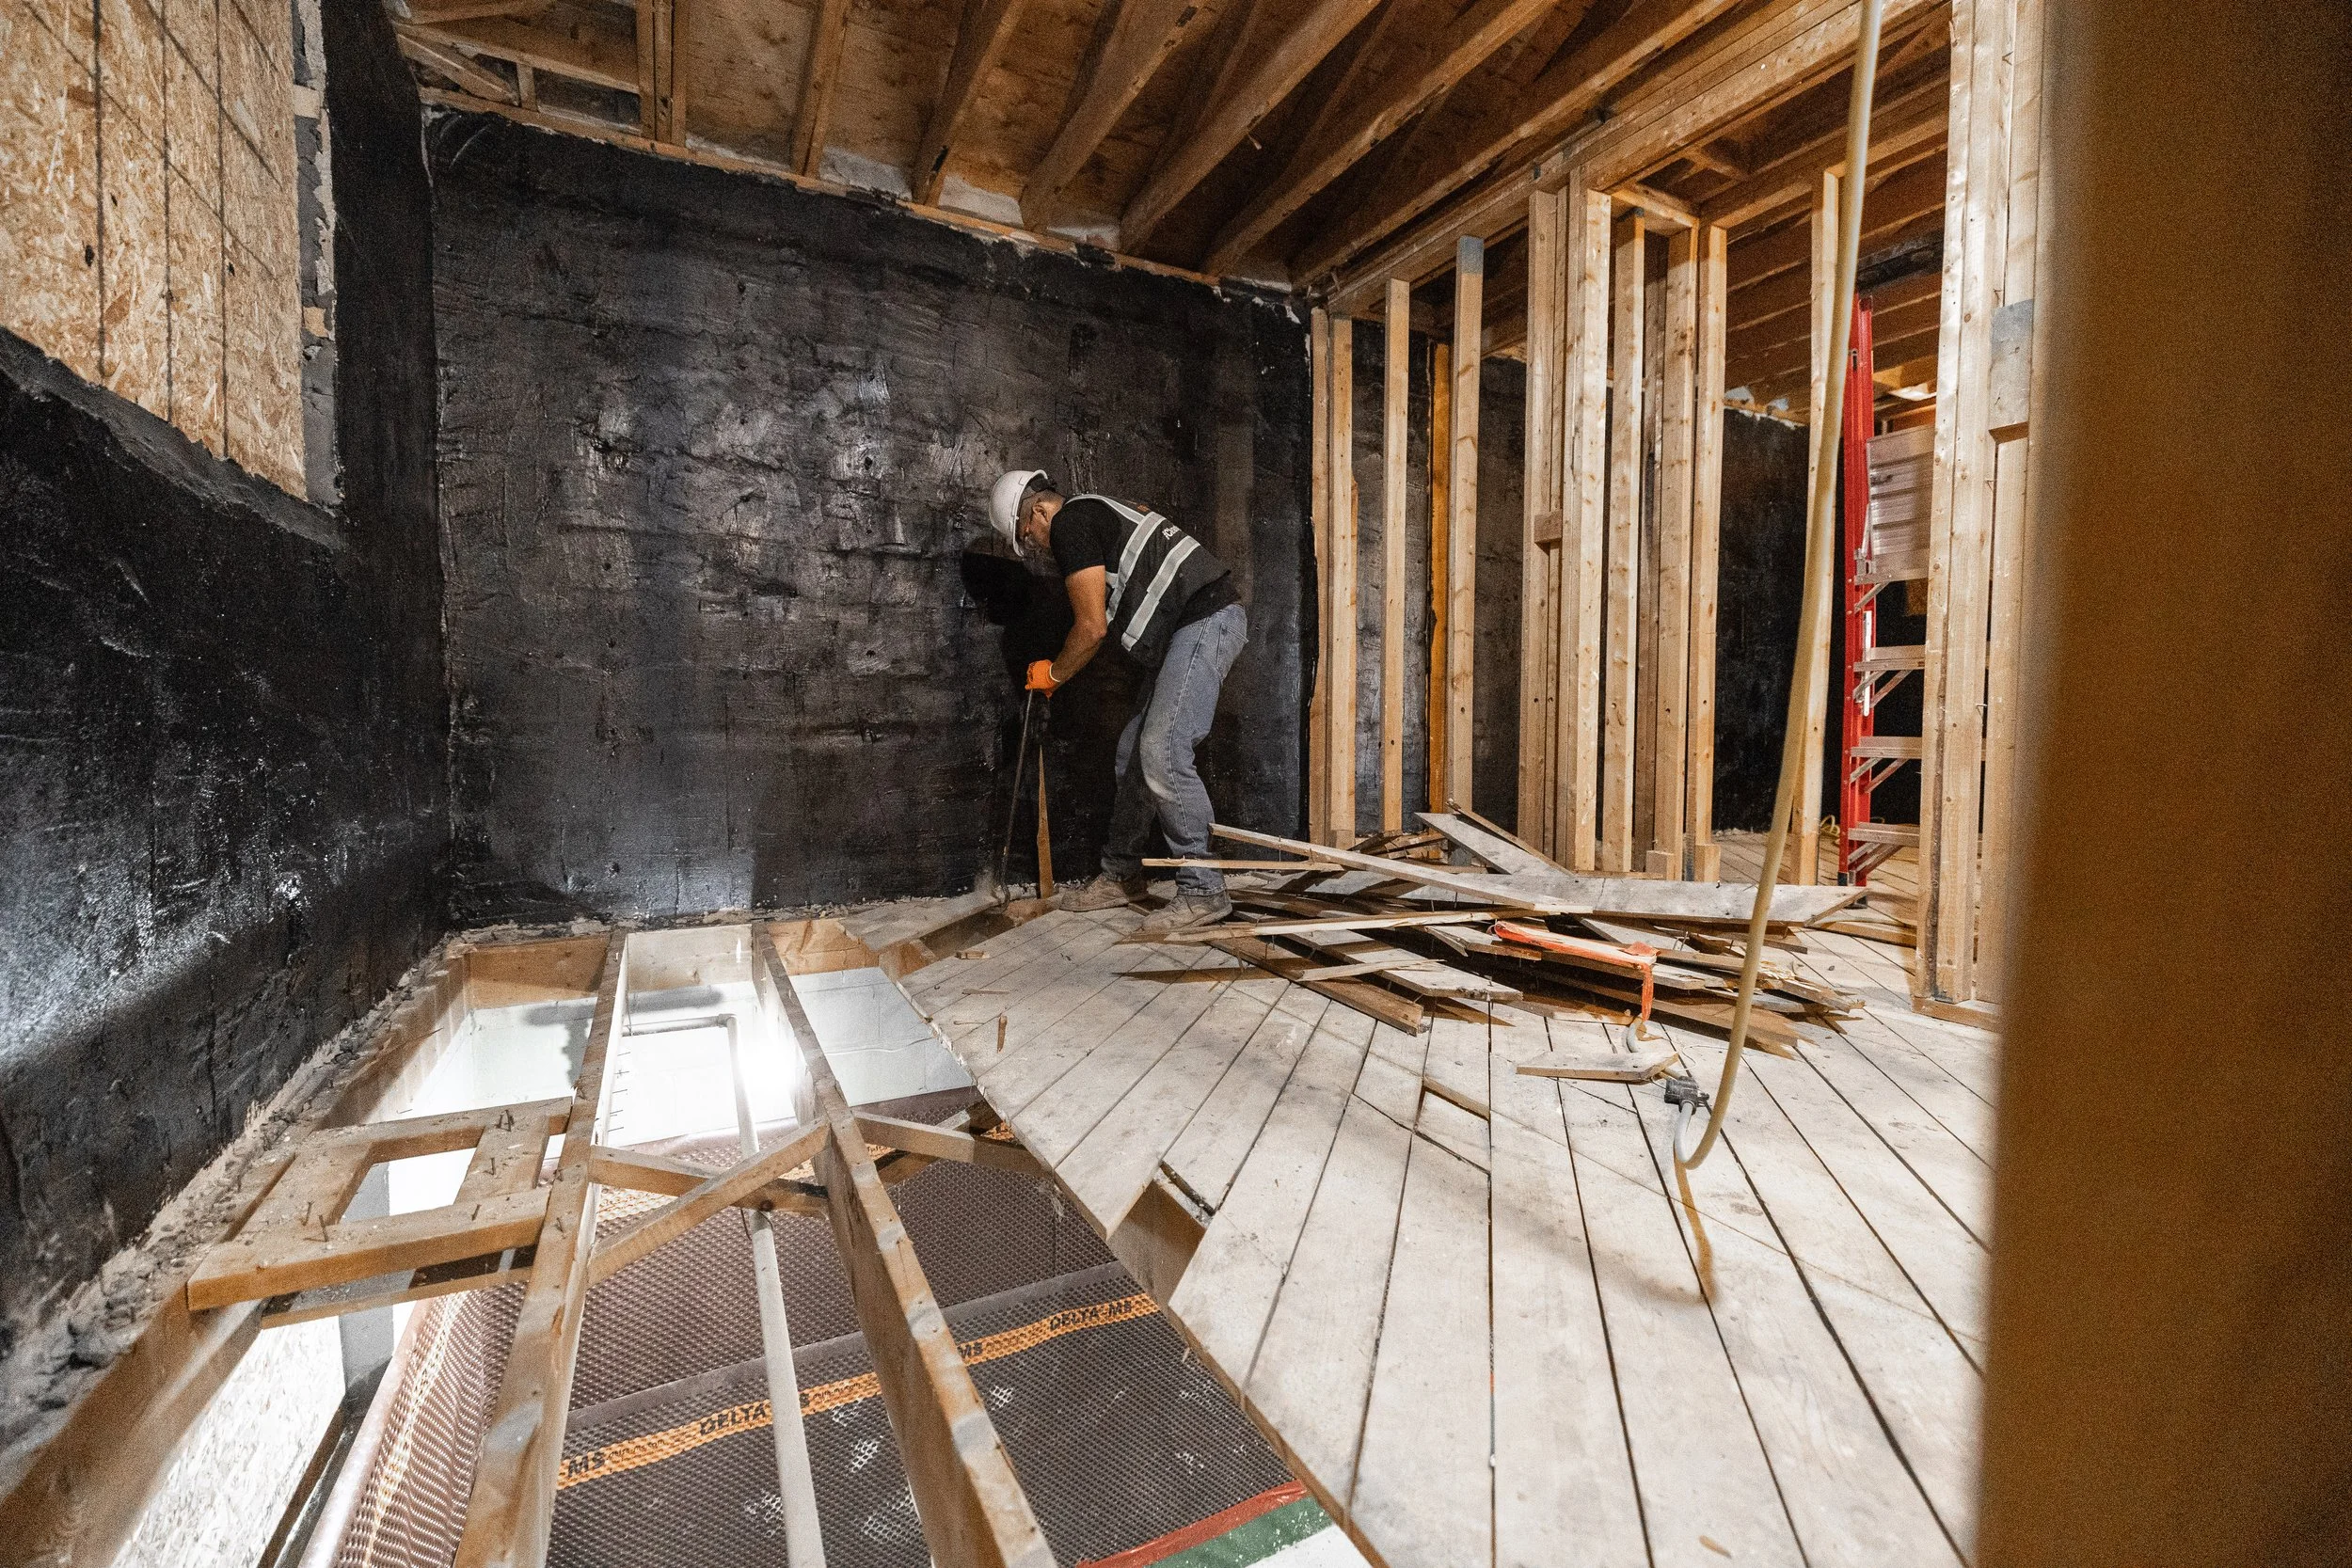
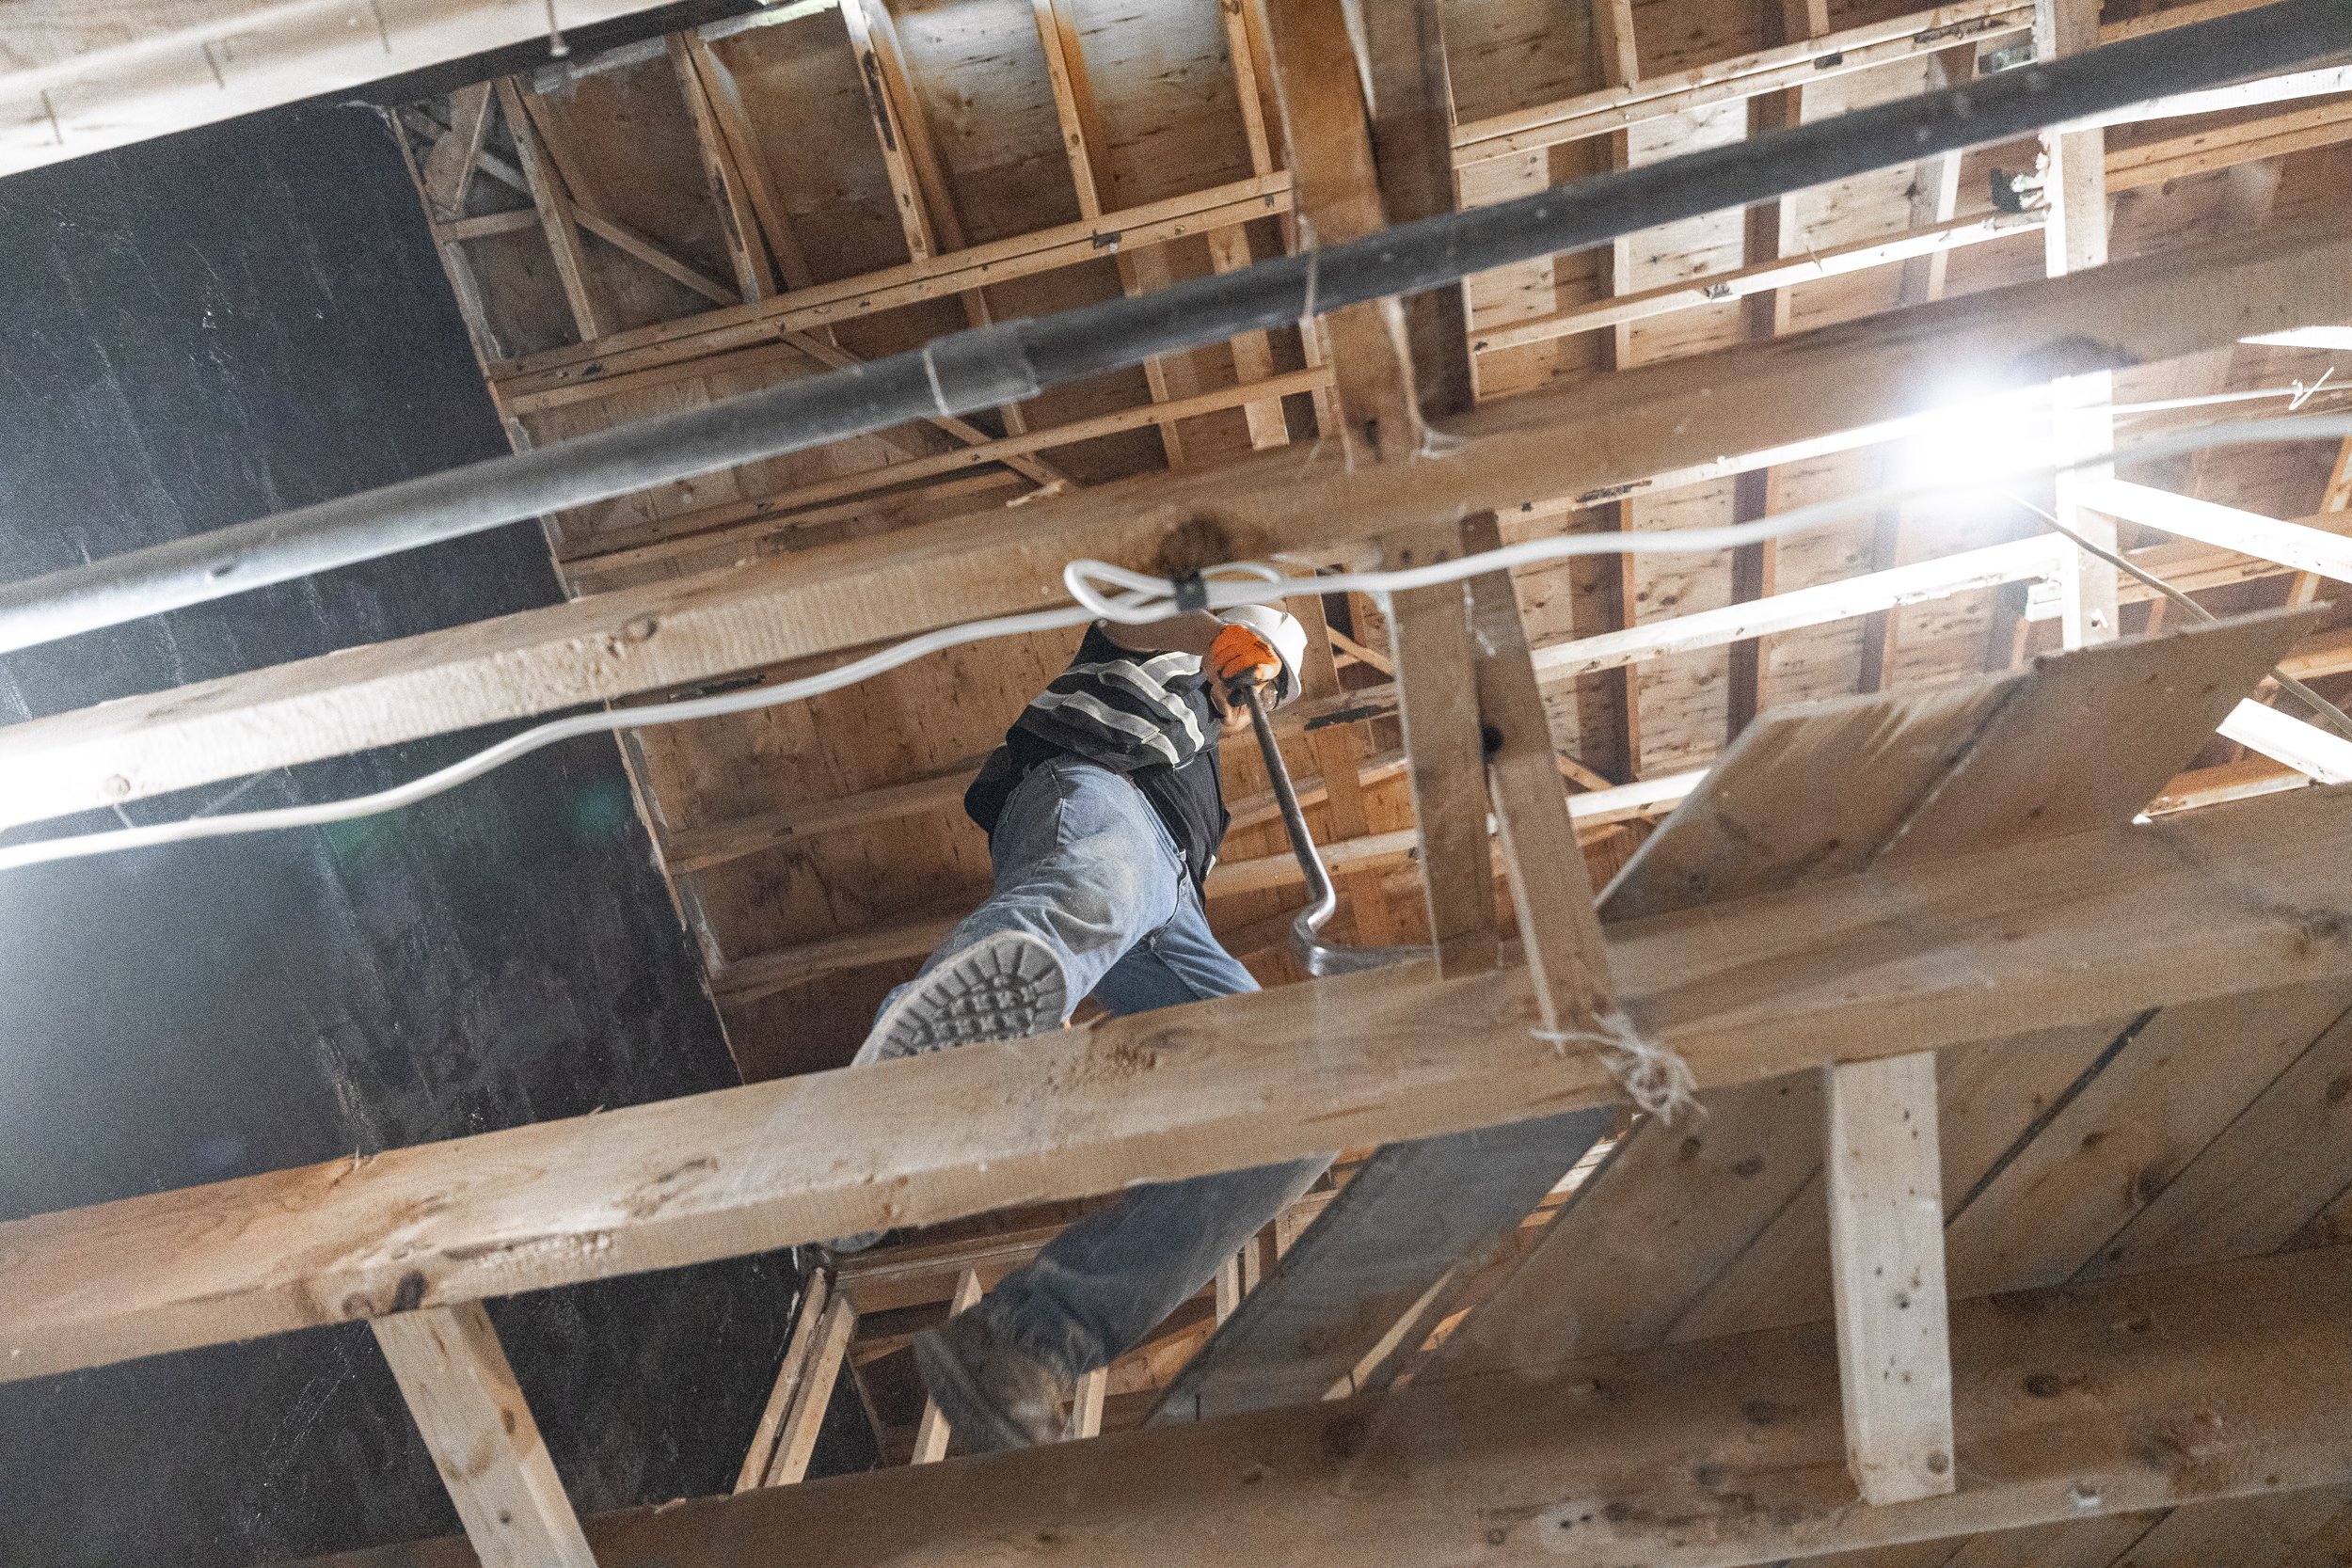
Prying off old subfloors leaves behind thousands of jagged, rusted ring shank nails and framing staples bent over the top edges of the floor joists. If left behind, even a single protruding nail head creates a high point beneath the new plywood, leading to annoying floor squeaks and uneven seams. Our crew systematically pulls, cuts, and clears every nail and fastener across the entire footprint, scraping away residual glue and construction debris until the raw wood of every joist is completely smooth and exposed.
Temporary Safe Walkways and Substructure Inspection
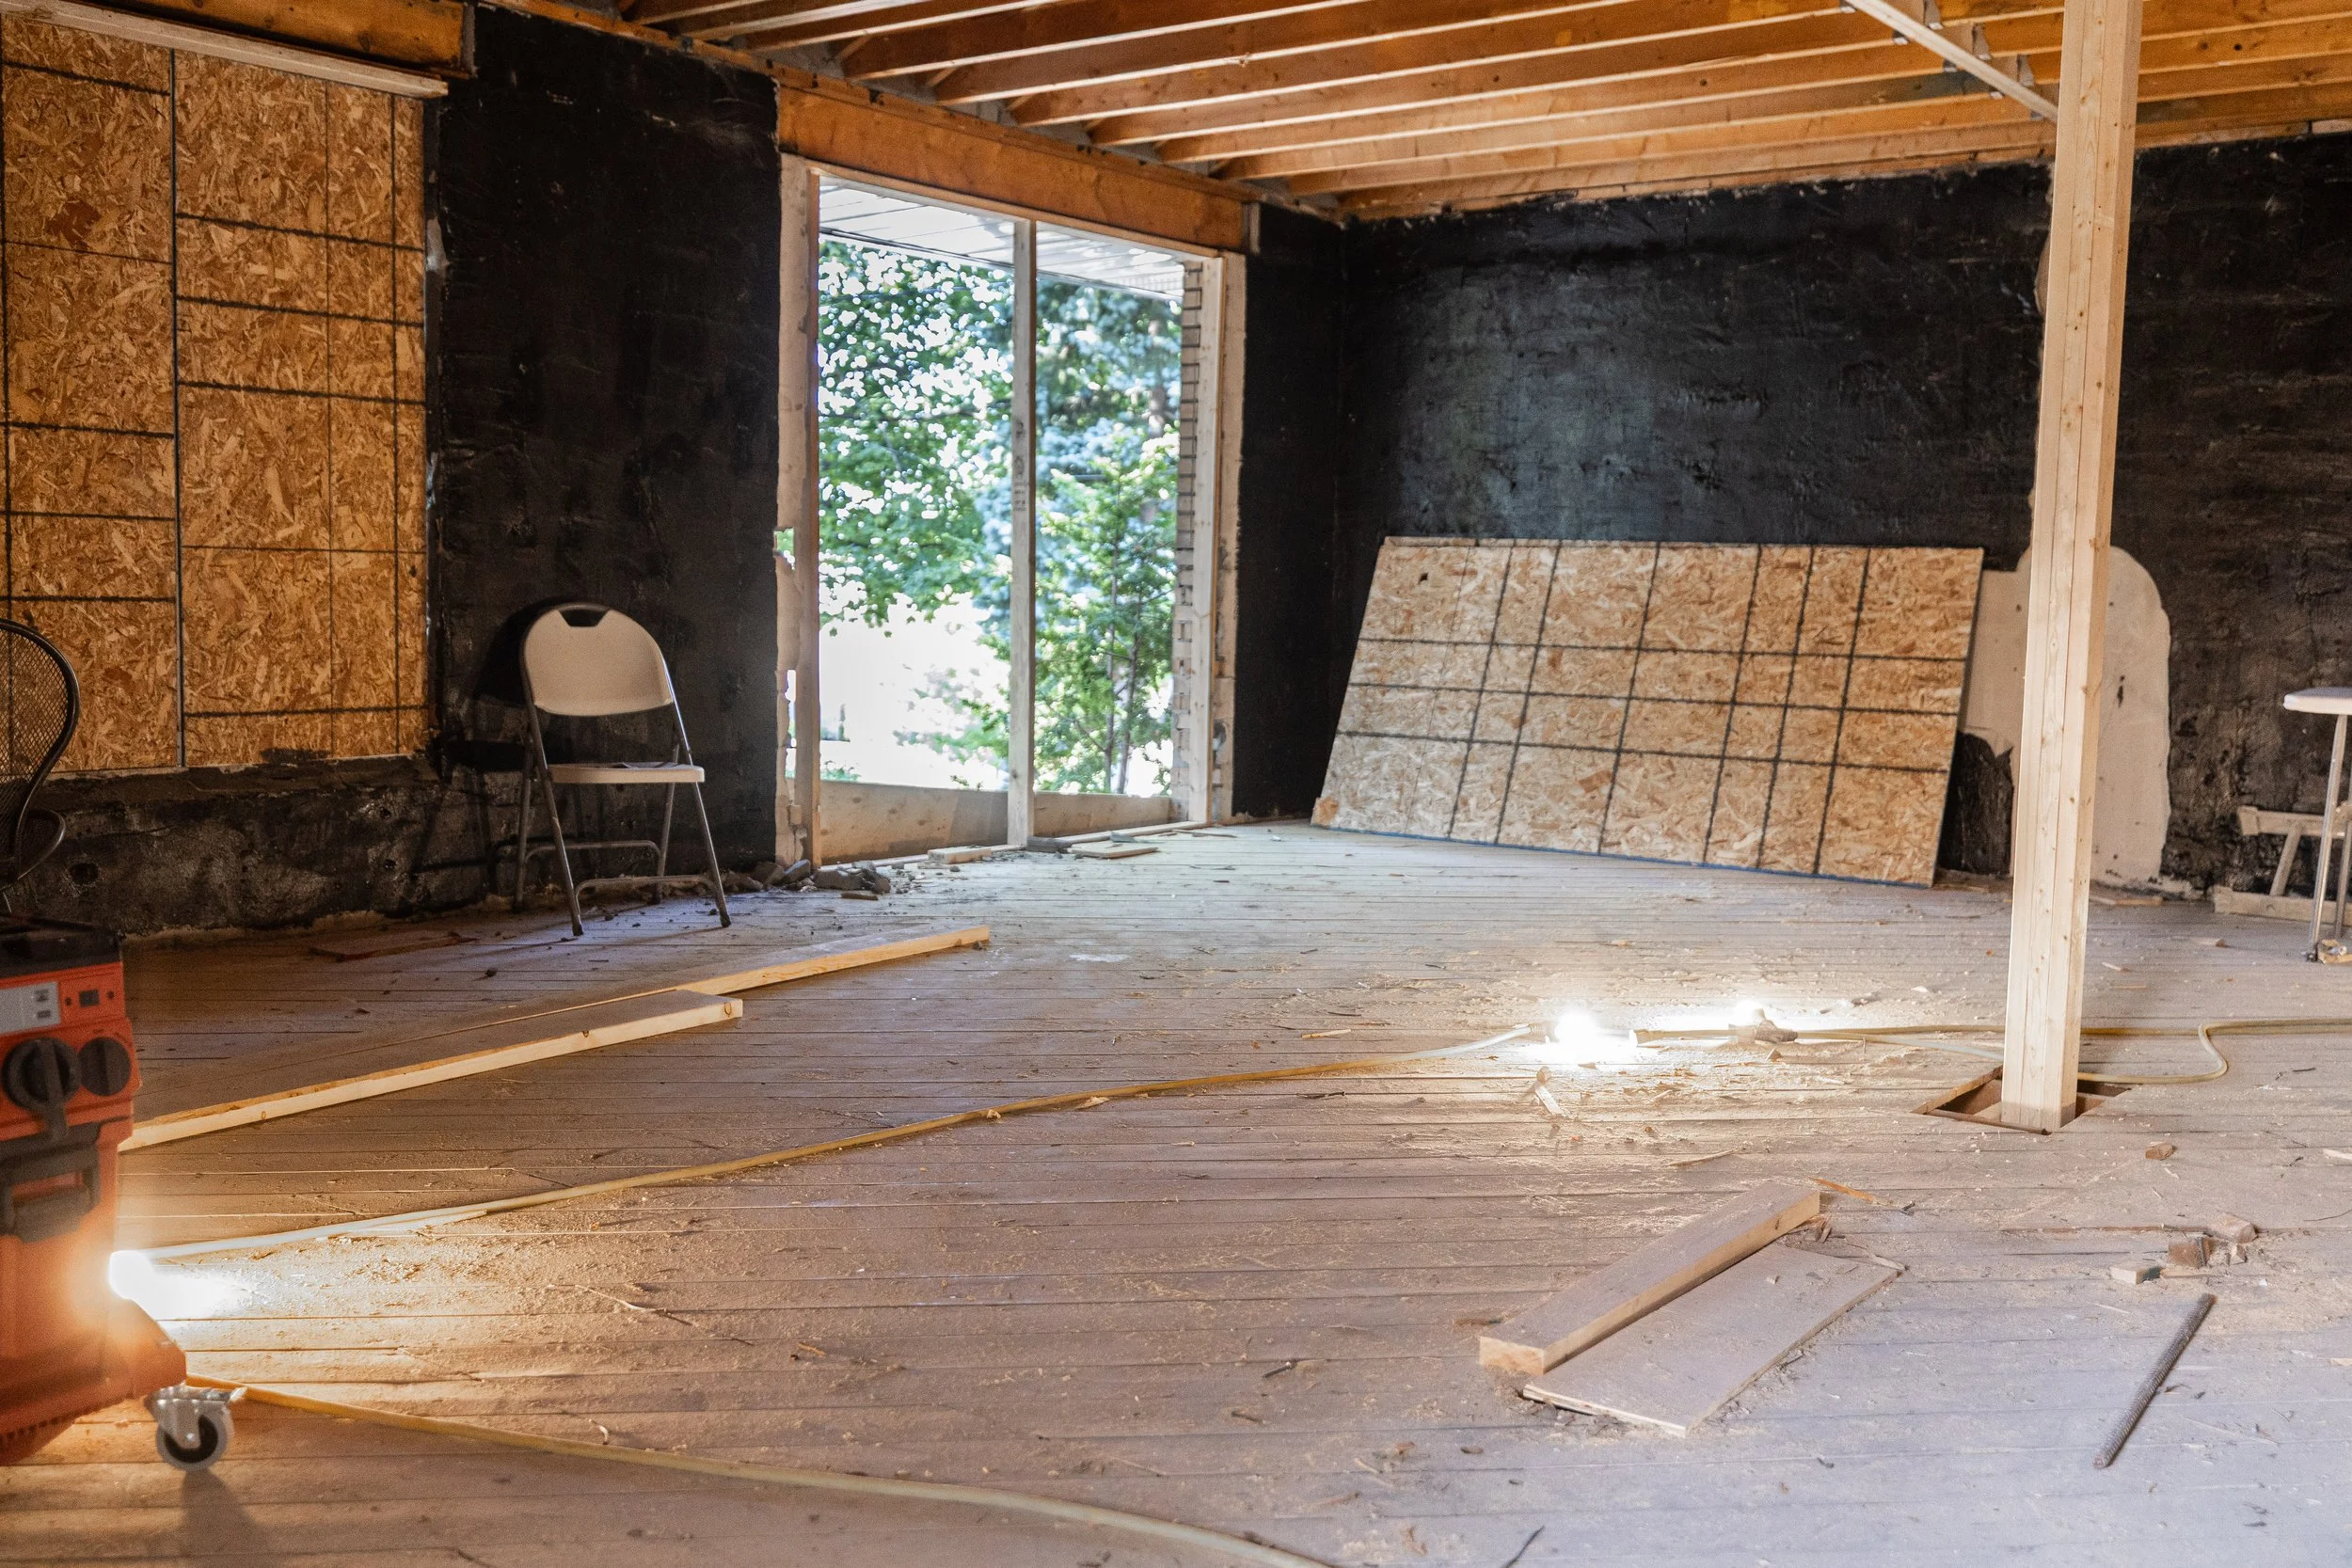
With the subfloor removed, open joist bays create severe tripping and fall hazards for sub trades. To ensure absolute safety on site, we re sheet high traffic walkways with temporary plywood pathways, allowing general contractors, engineers, and framing crews to walk through the project safely. This exposed phase also gives inspectors an unobstructed view into the joist bays to evaluate structural integrity, sistering requirements, or plumbing updates before new subfloors are permanently installed.
Interior and Exterior Site Debris Clearance
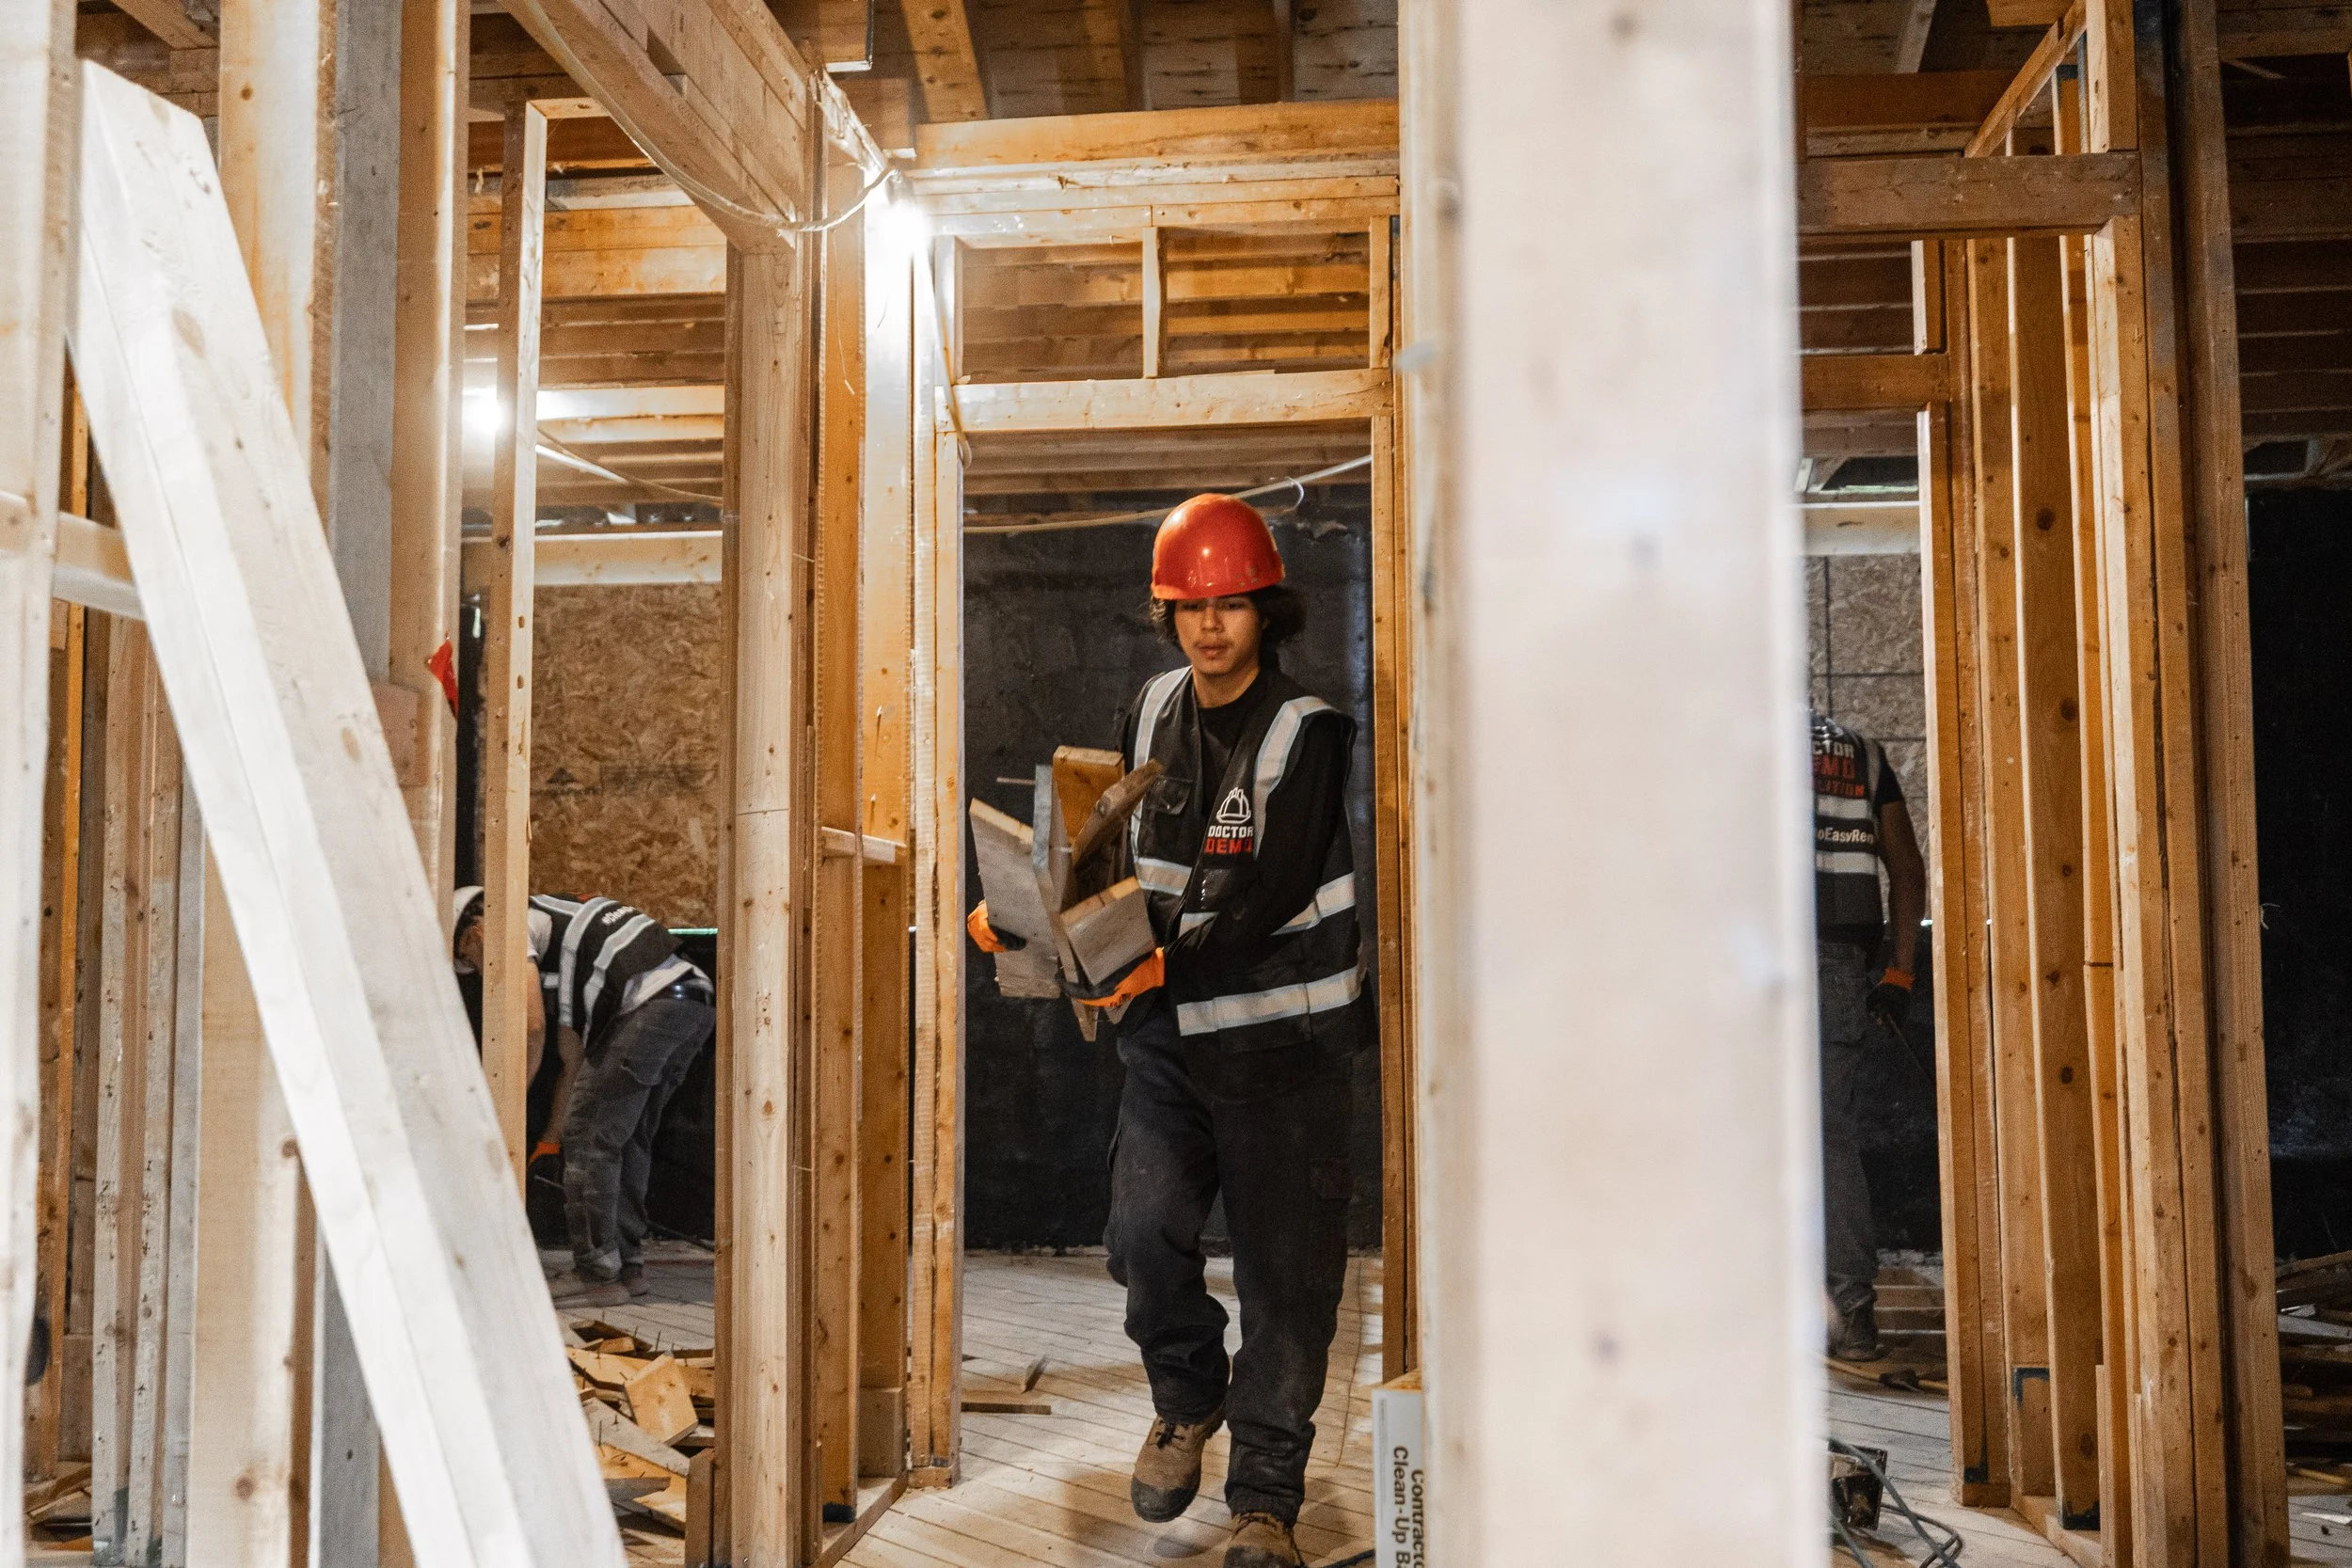
Demolition produces substantial weight and bulk. Large sections of wood, splintered planks, and ancient fasteners are packed into heavy duty disposal containers and loaded directly into haul away transport vehicles. We perform full magnetic sweeps across interior floor cavities and exterior staging areas, collecting stray metal, wood dust, and nails so your job site remains clean, safe, and professional.
Streamlining Trade Transitions: Why Clean Prep Saves Money
In the construction and remodeling industry, time is money. When a framing crew arrives on a job site to install new ¾ inch tongue and groove subflooring, micro leveling systems, or new partition walls, their efficiency depends entirely on the state of the workspace left behind by the demolition team.
If a framer has to spend their first two days on site pulling old nails, sweeping away plaster dust trapped between joists, or making secondary cuts around load-bearing walls that were missed during initial tear out, project schedules slip immediately. Labor rates for skilled framers are significantly higher than standard prep labor; paying framing specialists to pull rusted nails is an inefficient use of budget.
By hiring a dedicated demolition specialist who operates under the core principles of Smart, Fast, Safe, Clean, you guarantee that every joist is prepped, cleaned, and verified before the next trade step begins. While standard demolition tear outs often result in jagged, uncontrolled saw cuts, bent nails left in joists, open fall hazards, and piles of debris blocking access, the Doctor Demo selective process relies on calibrated blade depths, 100% joist de nailing, temporary safe walkways, and full sweeps with complete debris hauling.
Invest in Structural Accuracy for Your Remodel
A squeak free, level, and rock solid floor starts long before the finish hardwood or luxury vinyl tile is laid down, it starts during subfloor demolition. Protecting the load-bearing integrity of your home while giving your framing crew a clean slate is the best investment you can make in the longevity of your home overhaul.
If you are a homeowner, general contractor, or project manager in Toronto, North York, Mississauga, or anywhere across the GTA, trust Doctor Demo Inc. to handle your selective interior demolition needs with surgical precision.
Call (647) 864 8170 or visit doctordemo.ca to request your free estimate.